
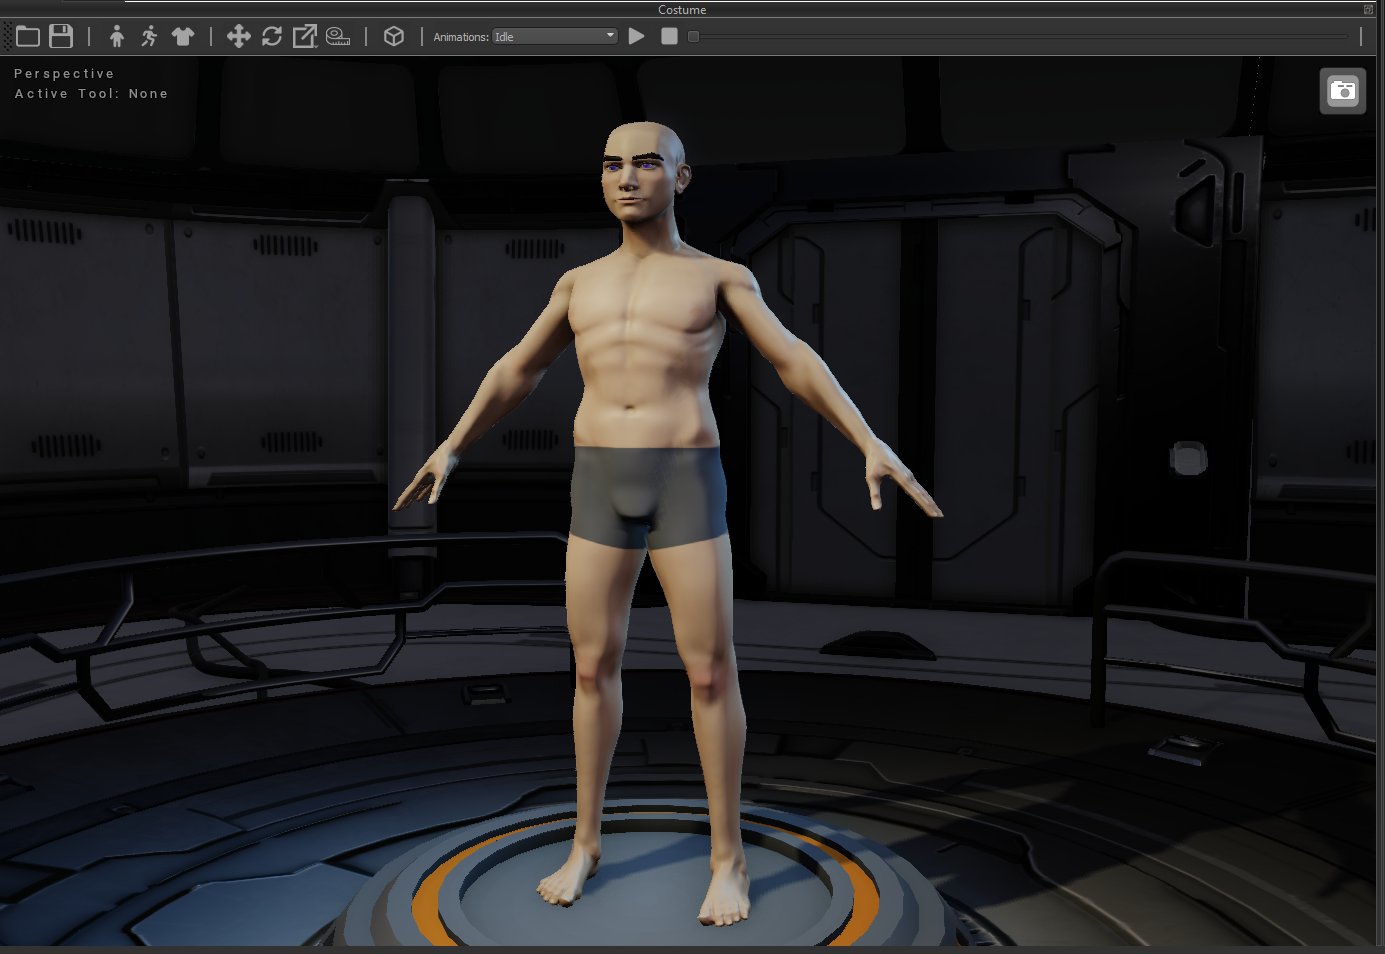
Toolbar Buttons
Open
Open
Opens a costume file
Save
Save

Saves the current costume in the work area
Edit Avatar
Edit Avatar

Enter / Exits the edit avatar mode. This opens the edit avatar panel to the left of the work area.
Edit Pose
Edit Pose

Enter / Exits the edit pose mode. This allows the user to edit the posing of the avatar.
Fit Checker
Fit Checker

Enter / Exits the fit checker mode. This allows the user to check the fit of all of their parts. It renders a heatmap based on how far each vertex is away from the avatar.
Translate
Translate

Activates the Translate Tool, allowing the selected objects to be repositioned within the Work Area.For more information, see Translate Tool.
Rotate
Rotate

Activates the Rotation Tool, allowing the selected objects to be rotated within the Work Area.For more information, see Rotation Tool.
Scale
Scale
.png?fit=max&auto=format&n=RvosOhnkTkEqoVFN&q=85&s=5d33172abc7dc828c1ec5dfe6b4a3474)
Activates the Scale Tool, allowing the selected objects to be scaled within the Work Area.For more information, see Scale Tool.
Measure
Measure

Activates the Measurement Tool, allowing the user to measure points within the Work Area.For more information, see Measurement Tool.
Free Form Deformation
Free Form Deformation

Activates the Free Form Deformation Tool, allowing the selected objects to be deformed with a lattice cage.For more information, see Free Form Deformation Tool.
Animation Selector
Animation Selector
Select an animation from the drop down list which you would like to test out on the Avatar. If you have any suggestions for more animations please contact us on the website. wwww.armorsmithdesigner.com
Play / Pause Animation
Play / Pause Animation

Plays or pauses the currently animation selected in the animation selector.
Stop Animation
Stop Animation

Stops the currently playing animation.
Animation Scrubber
Animation Scrubber
Use the animation scrubber to manually move through the animation timeline. First, pause the animation, then drag the scrubber along the timeline to move forward or backward through the animation.
Navigation Controls
Mouse navigation in the viewport requires the cursor to be inside the viewport area. If scrolling or dragging doesn’t seem to be working, click once inside the viewport to make sure it has focus.